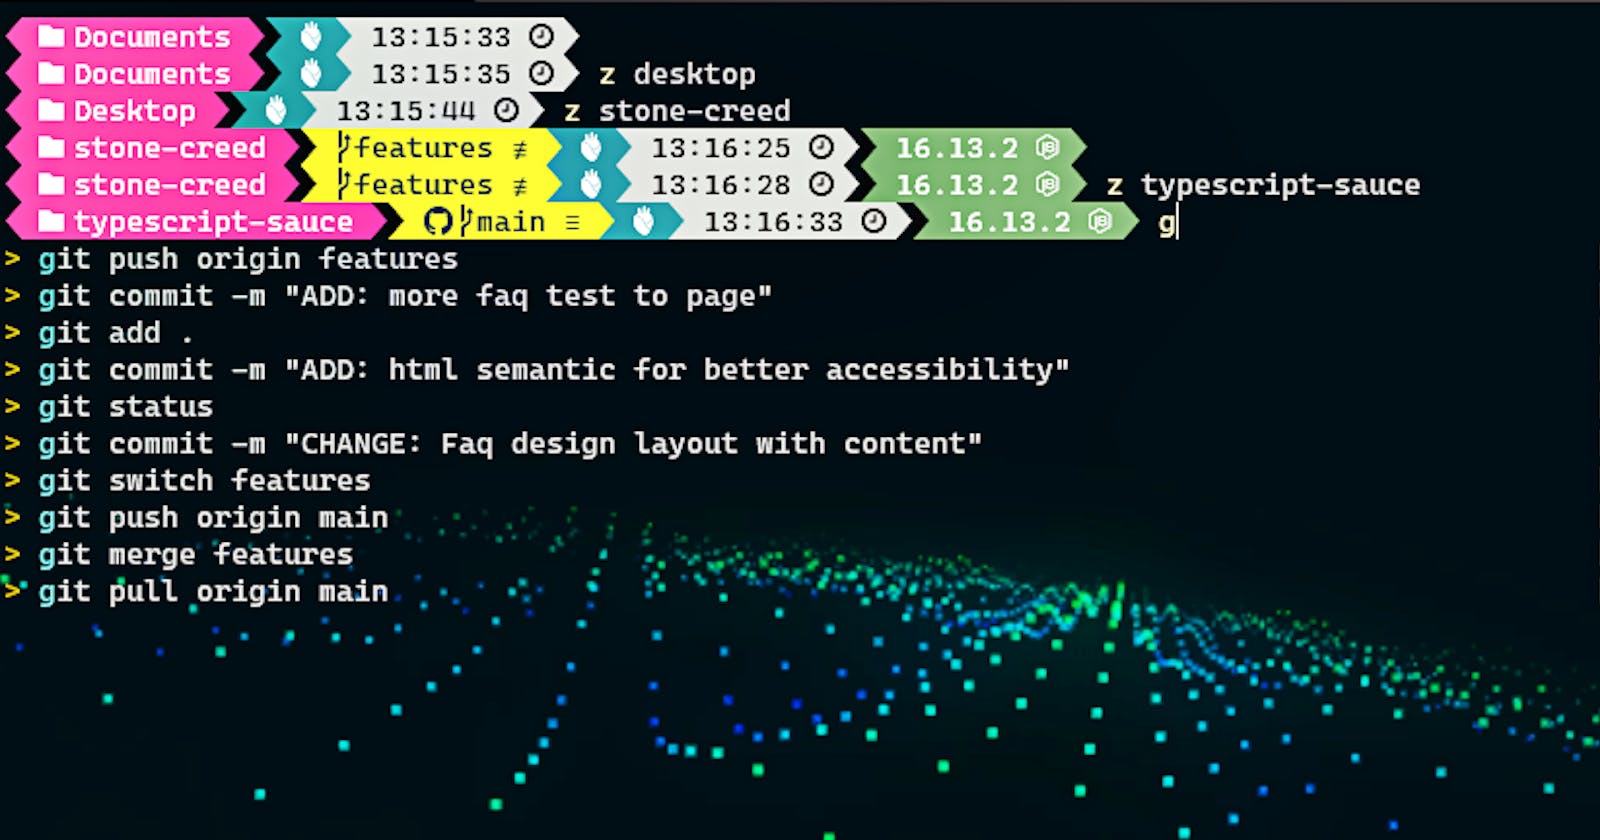
Oh My Posh...Windows Terminal for Web Ninjas
with "Z" the new way to navigate folders
Developers love peak productivity and having the right terminal can help you create that part, especially when the setup compliments your IDE setup.
In this tutorial, I will guide you on setting up ooh my posh terminal for windows with a customized powerlevel10k layout.
I will be using my favourite code editor, Visual Studio Code and PowerShell Preview from the Microsoft store for this tutorial.
Firstly, All versions of Windows 10 come with WSL by default but you have to turn searching Turn Windows Feature on and off in the Window search bar. Find Windows Subsystem for Linux in the list of features and turn it on.
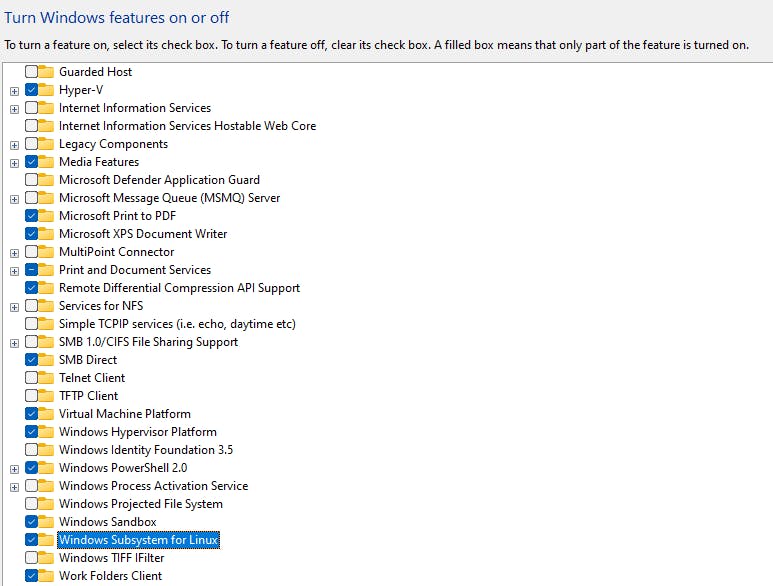
Restart your system and download the dark PowerShell from Microsoft Store and run the code below.
wsl --install
Once the installation is complete, visit the Microsoft store again and download Ubuntu developed by Canonical Group Limited.
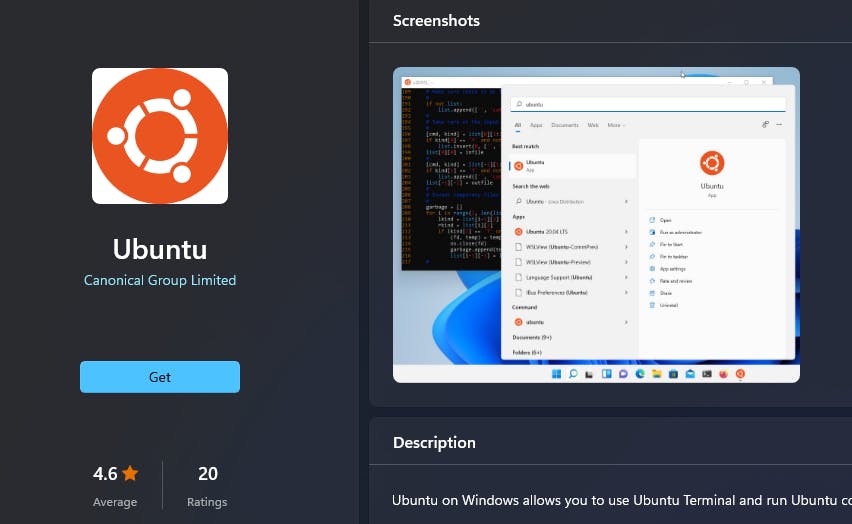
You will be required to create a UNIX username and password once the download is complete.
Click the dropdown icon and select Ubuntu from the list.
You can modify your commandline by going to the setting and using the JSON settings icon that will open on your default text editor.
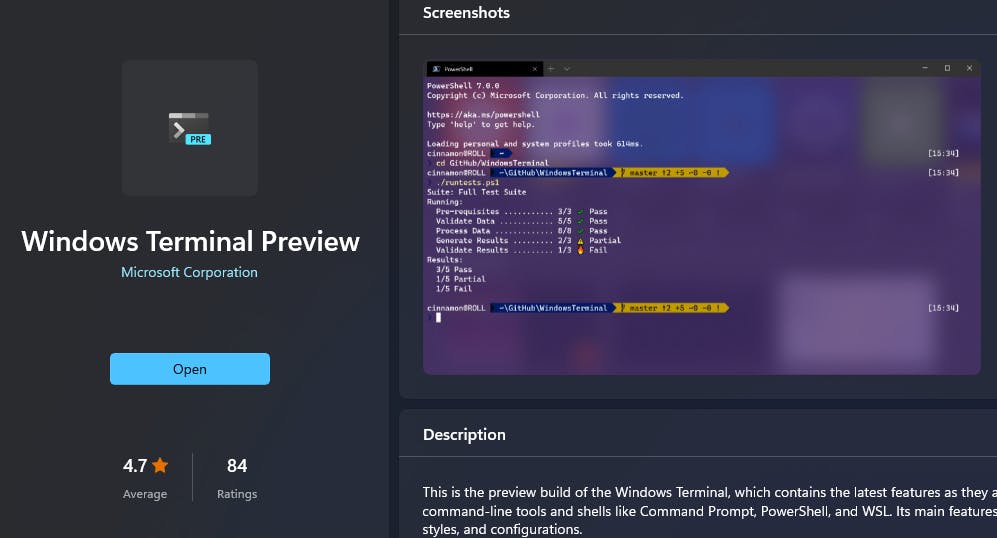
You can visit my GitHub gist for all the source code or manually change the code as shown below.
"commandline": "wsl ~"
Next, visit the nerd fonts to download fonts of your choice. I have already extracted and installed Caskaydia Cove Nerd Font for this tutorial website.
We can now install oh-my-zsh
winget install JanDeDobbleleer.OhMyPosh
We need to restart our terminal after installation and run the code below.
oh-my-posh.exe
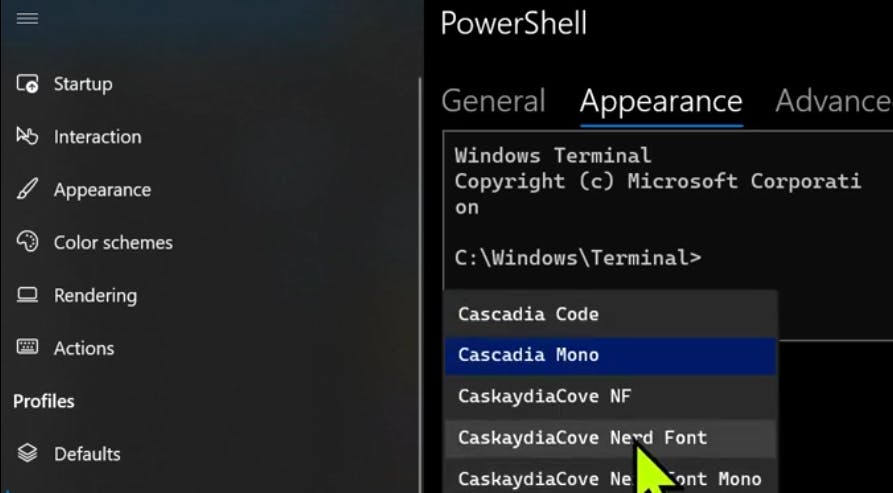
Now go to your terminal settings appearance and change the default font Caskaydia Cove Nerd Font, depending on your chosen download fonts. This will change the font ligature of your terminal but we still need to profile.
            {
                "commandline": "wsl ~",
                "font":
                {
                    "face": "CaskaydiaCove NF"
                },
                "backgroundImage": "C:/Users/Rowland/Documents/MM/Package/studio.gif",
                "guid": "{2c4de342-38b7-51cf-b940-2309a097f518}",
                "hidden": false,
                "name": "Ubuntu",
                "source": "Windows.Terminal.Wsl"
            }
We need to create a folder PowerShell with a file called Microsoft.PowerShell_profile.ps1 in the Documents folder.
Open the file in your text editor, copy the code below and restart your terminal.
oh-my-posh —init —shell pwsh --config ~/jandedobbebleer.omp.json | Invoke-Expression
Create a folder in the C drive root folder called github with a subfolder called prompt and download my powerlevelv1.json from my gist file and overwrite the initial setup with this line of code oh-my-posh --init --shell pwsh --config C:\github\prompt\powerlevel10k_rainbow.omp.json | Invoke-Expression in your Microsoft.PowerShell_profile.ps1 file
We can now see the difference but we still need to modify some changes.
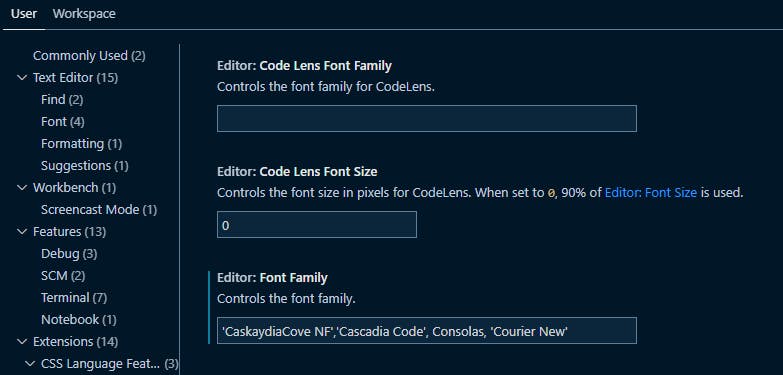
 In the Visual Studio code UI settings, search for
 Font Family and modify as shown below.
We now install the following functions to give our terminal a superpower.
install-module -Name Terminal-Icons
install-module psReadline
Download a copy of my gist file for all setup settings in your Microsoft.PowerShell_profile.ps1 file that will install set-prediction and history search.
We now need to install z as a replacement for a "cd" that comes with an AI-powered intelligence but this doesn't mean you can use both in your terminal.
install-module z -allowclobeer
We have successfully installed wsl, Linux, PowerShell, change your prompt, font- Caskaydia code nf, and modified our own posh.
Try tweaking changes to other terminals of your choice for additional features that may interest you.
Please note that I tried to make this tutorial as short as possible, you can research some of the tools used whilst creating your super-powered terminal.
Powerlevel10k terminal view layout can always be changed by running p10k configure.
Credits to Hansel of Microsoft for his research and contributions.
